Using Picasa's Import Command with Your Scanner
I was visiting my Mom's and we started looking at old pictures. Between the two of us we could identify most of them and I wanted to preserve them. She has one of those all-in-one printer-copier-scanners. So, here's what I did:
- Make sure everything is connected and turned on!
- Put the photo on the glass of the scanner - face down
- In Picasa, click 'Import'
- Click the arrow for the drop down list of devices. You should see your scanner listed ... select it
- Now you will see a screen that depends on your scanner. There should be an option to 'Preview'. Click that.
- You should now see your picture, there may be some settings you want to change here, but if it looks OK then
- Click the button to Scan
- When it's done scanning, you're back at the standard Picasa Import screen. Click Import all.
- Select a folder to put it in. I made a folder called 'Old Photos' for the first one, then, for each subsequent scanned photo, I selected that existing folder from the drop-down list.
I scanned 53 old photos in this manner. It took me somewhat over an hour. Then I just took another few seconds to use Batch Edit and do an 'I'm Feeling Lucky' and 'Sharpen' to all 53 at once. I think the results are great. What do you think?
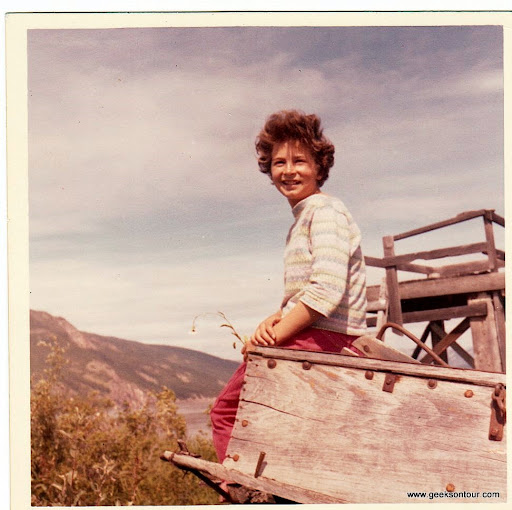
This is a photo from circa 1962 - me at 10 years old in Alaska. It looks better than the original!
GOT Class Members can also view related videos:
Importing from Camera
Sharpen and Batch Edit
Basic Editing Features
Retouching
